15-02-2013, 05:30 PM
This week, for the Art Attack project, we wish to bring the
photos into 3D! 3D sounds sophisticated and complicated. However, we find the
easy and simple way to create 3D photos.
To start, you can simply chose the photo you want from a
book, a magazine, or even use your own favorite photo. After that, make 3
copies of your photo. You can either use a photocopy machine or color printer
from home to make those copies.
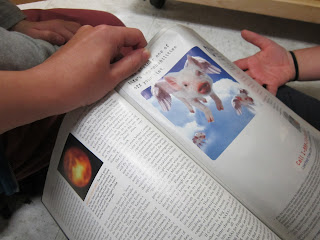 |
| Chose your own Photos from a magazine or a book |
When you have 3 copies of the photo, you can start to make
your own 3D photo!
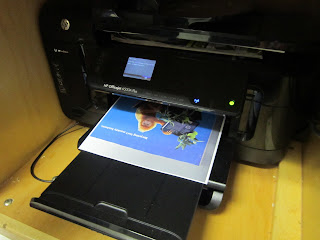 |
| Make 3 Copies of the Photos |
First, decide which parts of the picture should be in each
layer. We can have three layers, so
something can be in the front, the middle, and finally the back.
Then, trace which objects you want in each layer, cut them
out, and stick folds of paper to add depth to each object depending on how
close you want them to be.
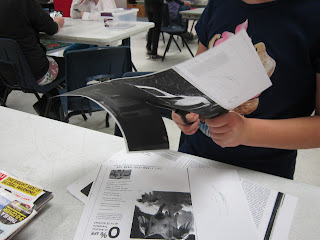 |
| Cut out the objects for each layer... |
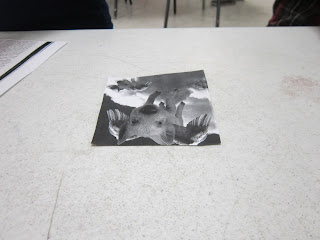 |
| Base Layer... |
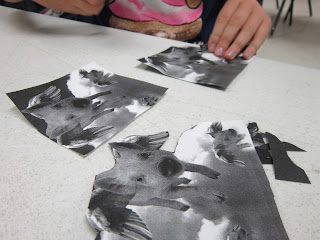 |
| Ready for 3 Layers |
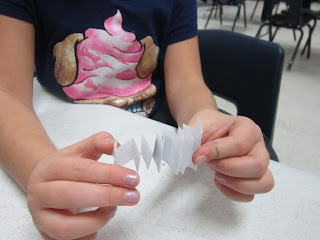 |
| This is what makes your Photo 3D |
While you are doing this with kids, different photos or pictures can provide different levels of challenge for the kids. Following are the steps for a more difficult picture.
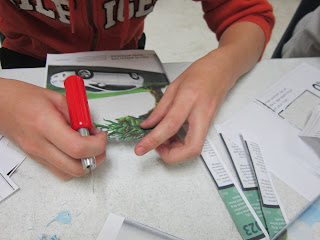 |
| Cut out the objects from the photo |
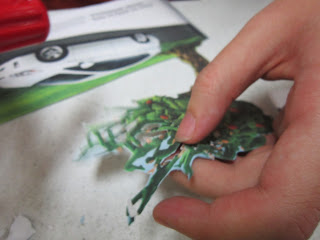 |
| Cut out the details of the Picture |
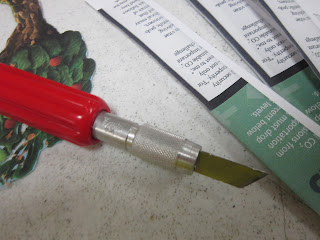 |
| Sharp cutting knife. Leader supervision required! |
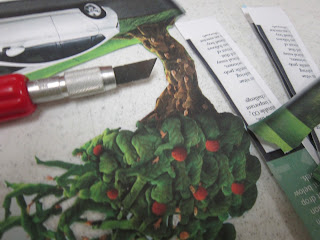 |
| Finally... detailing is done! |
 |
| Jason Lee is loving the every minute of it! |
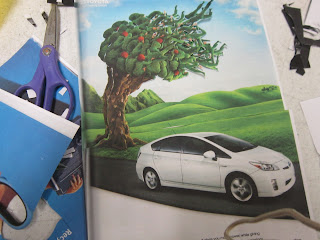 |
| Two Layers of the Picture |
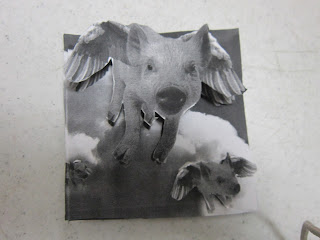 |
| Top view of a finished 3D Photo |
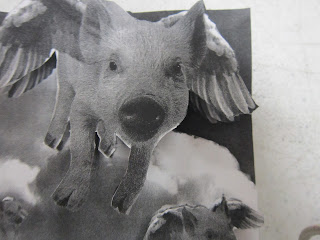 |
| Closer view |
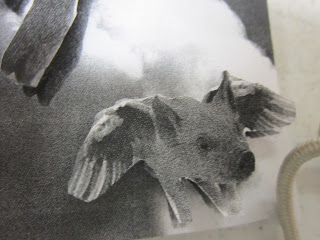 |
| Closer view II |
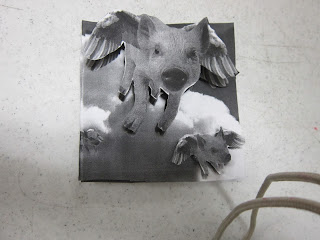 |
| Flying Piggies! |
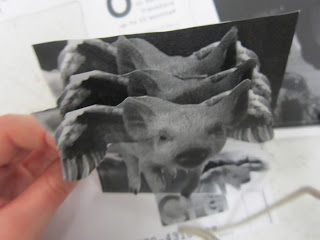 |
| Side view of the 3D photos |
Again, making 3D photo requires plenty of patience from the kids but it's not as hard as you think it is. With some careful snipping and pasting, you can make any
picture 3D!
Stay tune with our next Art Attack...
Thanks for dropping by,
Dennis & Jason Lee
WRCC


